| As of August 2020 the site you are on (wiki.newae.com) is deprecated, and content is now at rtfm.newae.com. |
Difference between revisions of "CW308T-ATSAMR21"
| Line 57: | Line 57: | ||
Note NO ANTENNA is provided as the board is sold only as a sub-assembly and not designed to be used as a radio transmitter. Mounting a 2.4 GHz radio antenna (SMA, NOT reverse-polarity SMA) like Digi-Key P/N 1475-1014-ND could potentially require you to meet FCC/CE guidelines for RF emissions and is UNSUPPORTED USAGE. All example source code DOES NOT enable the RF blocks. | Note NO ANTENNA is provided as the board is sold only as a sub-assembly and not designed to be used as a radio transmitter. Mounting a 2.4 GHz radio antenna (SMA, NOT reverse-polarity SMA) like Digi-Key P/N 1475-1014-ND could potentially require you to meet FCC/CE guidelines for RF emissions and is UNSUPPORTED USAGE. All example source code DOES NOT enable the RF blocks. | ||
| + | == Hardware == | ||
{{Template:Hardware}} | {{Template:Hardware}} | ||
[[Category: CW308 Targets]] | [[Category: CW308 Targets]] | ||
Revision as of 10:24, 1 May 2018
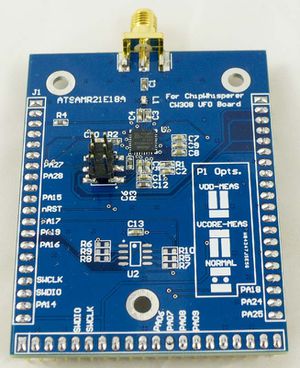
This is a BETA target and not yet available. This wiki page will continue to be updated until release. Gerbers are available in the GIT repo if you live dangerously.
| CW308T-ATSAMR21 | |
|---|---|
 | |
| Target Device | Cortex M0+ |
| Target Architecture | 32-bit Von Neumann |
| Hardware Crypto | Yes |
| Programmer | Atmel ICE (JTAG/SDW) |
| Status | BETA (Bug fixes needed) |
Power Analysis
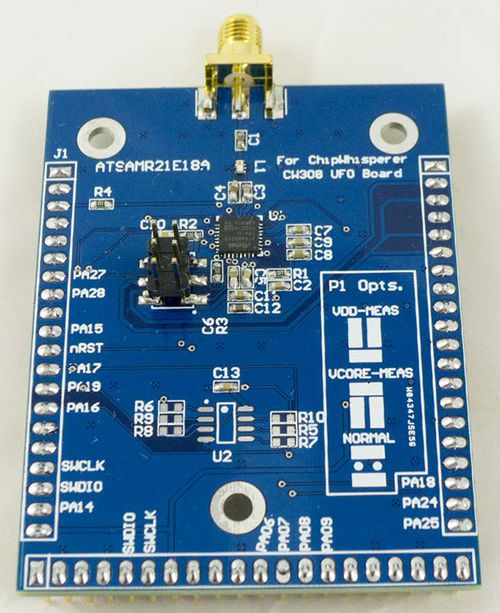
The SAMR21E contains two internal dies: an Atmel Cortex M0+ device, and an AT86RF233 radio chip. They are connected via a SPI bus inside the device, but there is actually two separate power pins. P1 is used to select which device you'd like to measure.
- VCORE is connected to the SAM processor core.
- VDD is connected to the AT86RF233 digital portion (which includes the AES hardware accelerator).
Both of these have internal voltage regulators. If you wish to 'disable' them, you can measure the voltage on TP5, and then supply a voltage slightly higher than this using VADJ. To do this:
- Remove jumper J14.
- Set P1 to desired measurement target.
- Measure voltage at TP5 (should be around 1.2V or 1.8V depending on if targeting VCORE or VDD).
- Adjust VADJ to be +0.1V higher than measured at TP5.
- Using J14, set FILT_LP/FILT_HP source as being VADJ.
- Measuring voltage at TP5 still, continue to carefully adjust VADJ such that a higher voltage is seen on TP5. You may need to perform this step to overcome voltage drops in the filter and/or shunt resistor.
WARNING: Be VERY CAREFUL when adjusting VADJ. In addition once done it is recommended to set J14 back to 'default' values. If you switch P1 to the wrong setting and forget that J14 is set to use VADJ, you could have an incorrect voltage applied to your microcontroller.
JTAG Programming
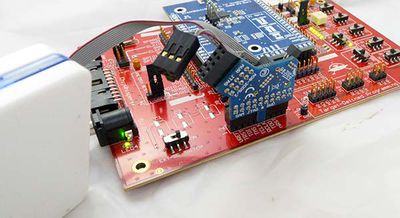
The SAMR21E uses the 2-pin programming (SWDIO/SWCLK) interface. This is routed to the 20-pin ARM JTAG header, which can be used with standard Atmel programming tools:
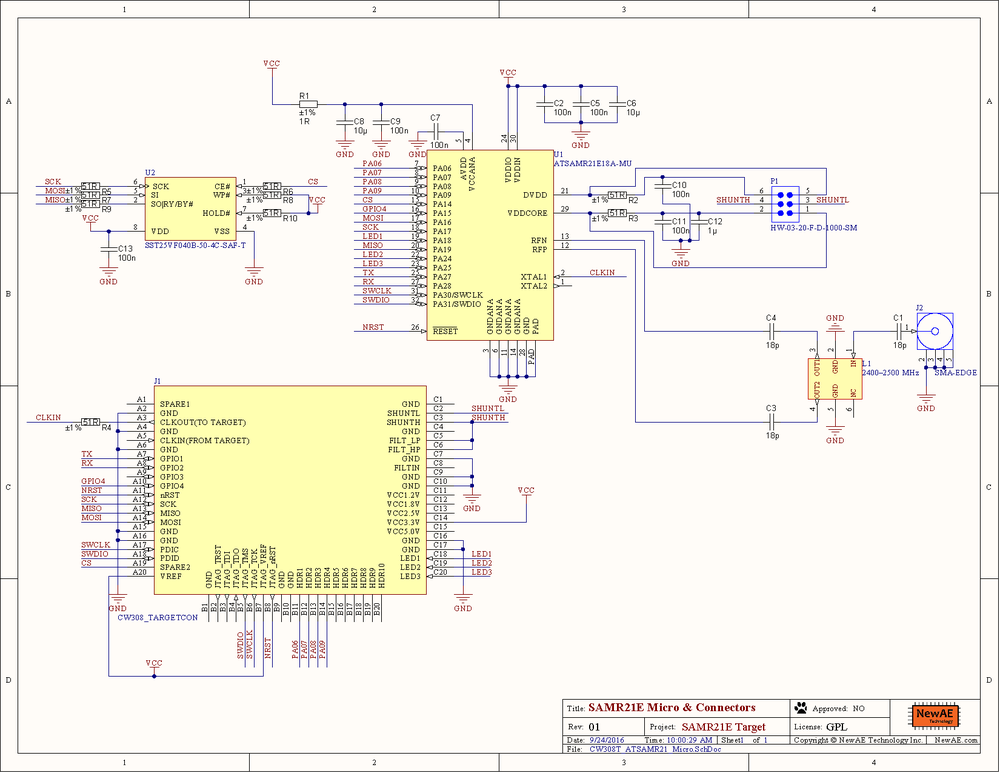
Schematic
NOTE: Schematic is marked as unapproved until hardware has been fully validated.
See GIT Repo for PDF of schematic.
Board Layout
See GIT Repo for gerber files.
Radio Usage
Note NO ANTENNA is provided as the board is sold only as a sub-assembly and not designed to be used as a radio transmitter. Mounting a 2.4 GHz radio antenna (SMA, NOT reverse-polarity SMA) like Digi-Key P/N 1475-1014-ND could potentially require you to meet FCC/CE guidelines for RF emissions and is UNSUPPORTED USAGE. All example source code DOES NOT enable the RF blocks.


